Blogixx - a markdown Flat File Blog System
Blogixx is a markdown file Blog Module for myMVC. It is a so called "flat file blog system", which means there is no database required. Setup is easy and does not take long.

If you want your own Blog which comes easy to understand and does not require to setup any database, Blogixx may be a choice for you. This Post is adapted from my README.md at github, where the Sources of Blogixx are hosted.
Overview
Features
- no Database required
- fast, secure and easy to understand
- automatic Indexing of new Posts, Pages
- automatic Post Overview - purified with HTMLPurifier to avoid broken HTML
- using Parsedown to convert Markdown into HTML
- automatic Tag list
- automatic Date list
- automatic meta tags: keyword, description
- Full text Search with Pulldown/Suggest Field included, no need to update any Index for this
- easily add a new Post as a markdown file
- easily add a new Page as a markdown file
- HTML5 Bootstrap Frontend with Bootswatch Design
Requirements
- Linux OS
- Permission to execute these Linux binaries via PHP's
shell_execcommand:ls,find,grep,head,md5sum - PHP >=5.4
- myMVC - will be installed automatically when following the Installation Instruction here on this page.
For Production live Environments i strongly recommend a Webserver like Apache2. For develop or test you could easily run PHP's internal server (see Section Run here).
Installation
This will install myMVC + Blogixx Module in one Step for a develop Environment (PHP >= 5.4 is required).
$ export MVC_ENV="develop"; svn co https://github.com/gueff/myMVC.git/trunk/ myMVC; cd myMVC/public; php index.php; cd ../modules; svn co https://github.com/gueff/Blogixx.git/trunk/ Blogixx; cd Blogixx; ./install.sh;Run
cd to myMVC's public/ folder and run php's internal server:
$ export MVC_ENV="develop"; php -S 127.0.0.1:1969;open Browser and call http://127.0.0.1:1969
you could also "simulate" test and live environments, by just set the specific value. E.g: export MVC_ENV="test";php -S 127.0.0.1:1969;, and export MVC_ENV="live";php -S 127.0.0.1:1969;
For a live/production environment i strongly recommended to use Apache2 Webserver and a Domain pointing to that. Using Apache2 Webserver will allow you to make use the .htaccess file located in /trunk/public/.htaccess. In there, you easily can set the environment variable. But of course, you also can make use of Nginx. See myMVC 's documentation for more Info.
Creating Content
The easiest Way is to use the Backend. Therefore you need to set up a user and password once:
After you installed Blogixx successfully, open /trunk/config/Blogixx.php and create an account for login.
Example
Creating an Account for Environment develop with user=test and password=test:
// Backend User Accounts for different Environments set by MVC_ENV
// Notice: empty "user" or "password" means no login is possible
$aConfig['BLOG_BACKEND'] = array(

    'develop' => array(

        // 1. account
        array(
            'user'      => 'test',
            'password'  => 'test'
        )
    ),

    'test' => array(

        // 1. account
        array(
            'user'      => '',
            'password'  => ''
        )
    ),

    'live' => array(

        // 1. account
        array(
            'user'      => '',
            'password'  => ''
        )
    )
);
Just login by calling /@ and create a post or page.
Manually (optional)
Maybe you want to edit your Blog locally and rsync it to your Production live Server, or you just want to use the markdown editor of your choice (like ReText) locally, then the following way may be one for you.
Posts must have a leading ISO Date in the filename and a .md Suffix at the end.
- cd to
/trunk/modules/Blogixx/data/post/ - create a new file with the Syntax
YYYY-MM-DD.title.md.
Examples:
- 2016-04-16.Linux: how to use iptables.md
- 2015-06-19.How to do this and that.md
Don't worry about spaces, colons and double-colons in the filename. It will work.
Now you can edit this file writing Markdown Syntax
cd to /trunk/modules/Blogixx/data/page/ and create a new file. The filename should represent the title of the new Page.
$ cd /trunk/modules/Blogixx/data/page/
$ touch "Contact.md"
Now you can edit this file writing Markdown Syntax
Templating / Design
Smarty Template Engine
As myMVC makes use of the Smarty Template Engine, so -of course- does Blogixx.
See /trunk/modules/Blogixx/templates/ for the Smarty template files which will be used for Blogixx.
Frontend
For the Frontend, Blogixx further makes use of
- Bootstrap
- Bootswatch (HTML5 Boostrap Designs)
- Font Awesome
- jQuery
- highlight.js
So Blogixx makes use of Bootswatch, where its Design cerulean here is set as the default one.
But you can easily switch to another Bootswatch Design by changing in /modules/Blogixx/templates/layout/index.tpl:
For example, you can change cerulean
<link rel="stylesheet" href="//maxcdn.bootstrapcdn.com/bootswatch/3.3.6/cerulean/bootstrap.min.css">into united:
<link rel="stylesheet" href="//maxcdn.bootstrapcdn.com/bootswatch/3.3.6/united/bootstrap.min.css">See Bootswatch for available Bootswatch Designs.
See Folder /public/Blogixx/ for CSS and Scripts
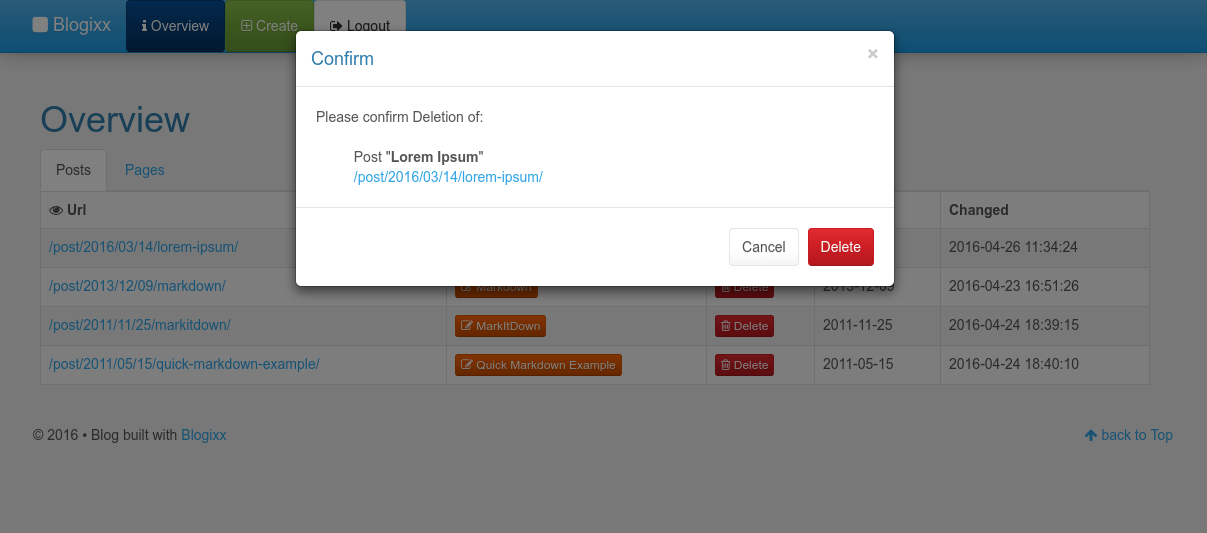
Blogixx Screenshots


